✨ New Arrivals Just Dropped!Explore
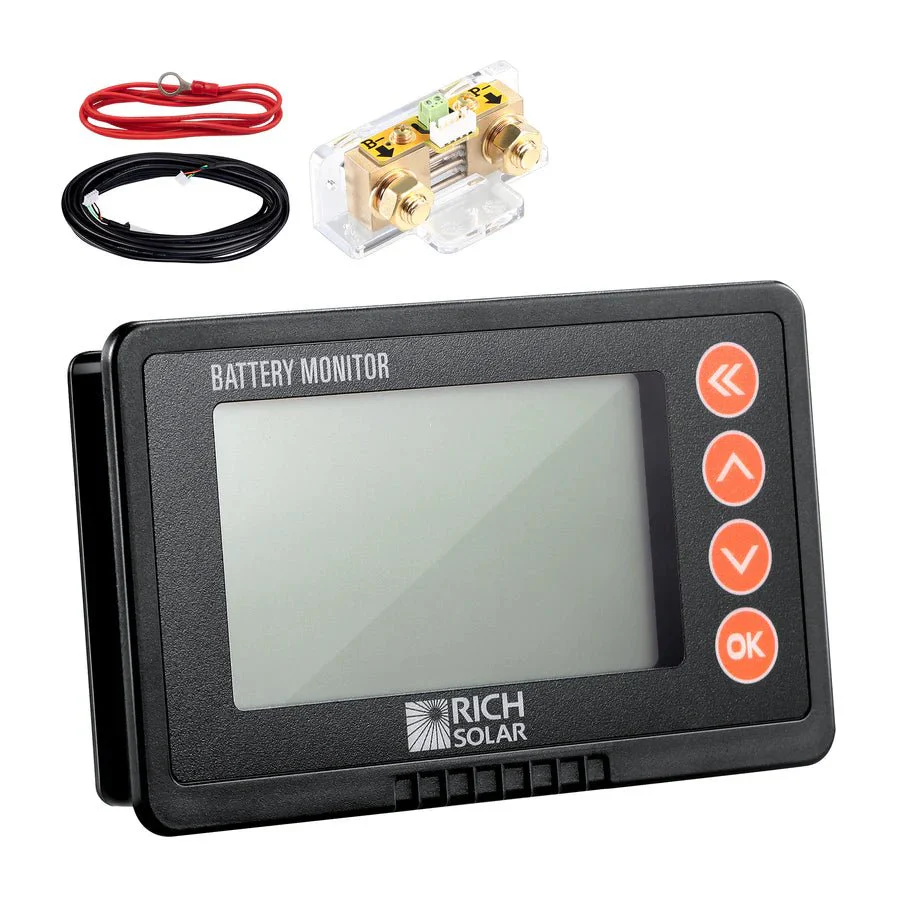
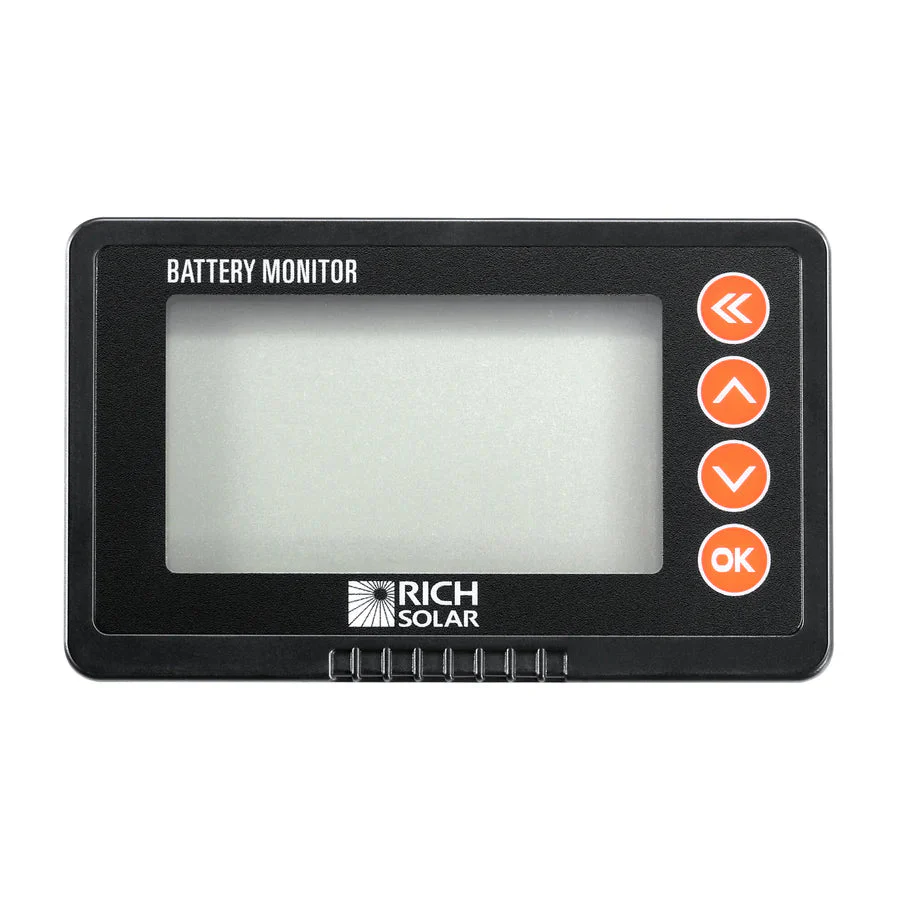
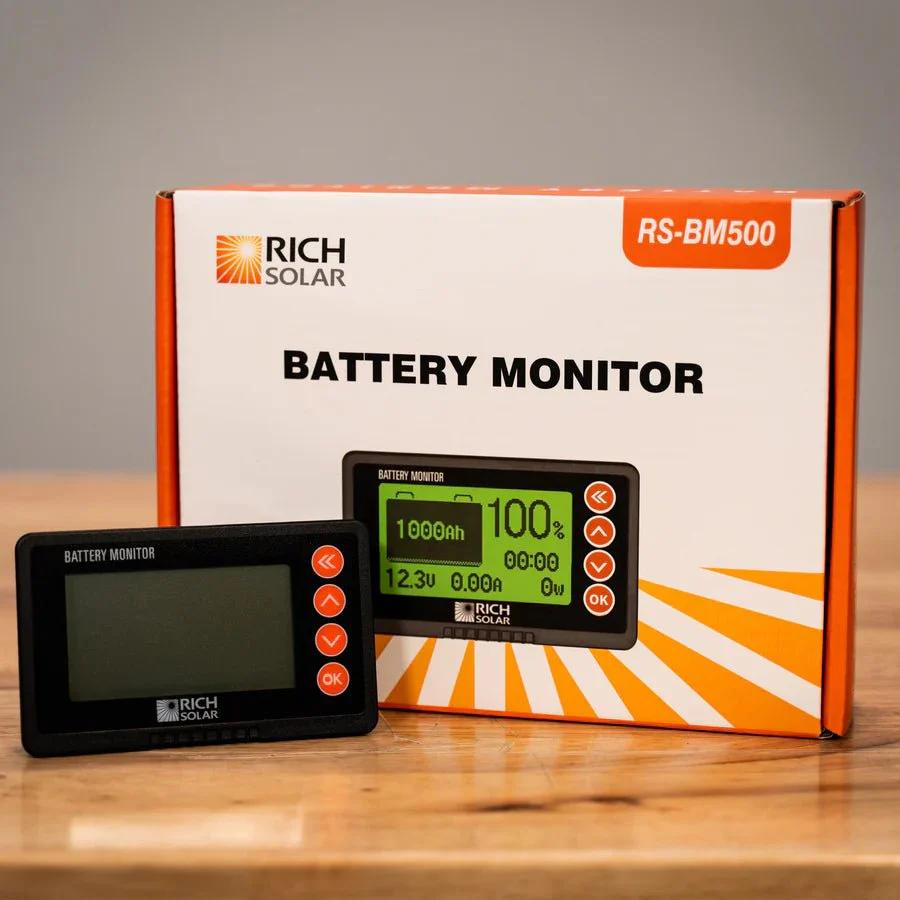
RICH SOLAR 500 Amp Battery Monitor with Shunt 8~120V 500A
Installation and Wiring-Overview
The RS-BM500 shunt should be mounted as close to the battery as possible, and the remote display is intended to be mounted on a wall.
Recommended Tools
- Wrench
- Drill
- Jig saw
- 2 ring terminals of appropriate size for battery cable
- Crimp tool for ring terminals
Wiring Diagram
The following wiring diagram will be referenced in the next section.

Installation
- Before doing anything, disconnect all wires from the negative side of the battery.
- Cut the negative cable for the battery and crimp on new ring terminals. Alternatively, use a new wire of appropriate gauge to carry the full current demand of your system.
- Install the shunt as shown in the wiring diagram above. Note: The negative terminal of the battery must connect directly to the “B-" side of the shunt, and there should be no other connections to the negative terminal of the battery for accurate measurements.
- Use the B+ wire included in the package to connect the B+ terminal of the shunt to the positive side of the battery.
Note: Do not stack smaller terminals under large ones. - Connect the shunt to the remote display using the included shielded cable.
Mounting the Remote Display
- Plan the location of your remote display and keep in mind there is a cable that needs to route all the way to the shunt.
- Drill a hole in the center of the planned location and use the jigsaw to cut a hole according to the following picture.
- Connect the shielded cable to the shunt and route it such that you can bring it through the hole.
- Connect the shielded cable to the remote and snap the remote into place.
Basic Setup
- Before doing anything, disconnect all wires from the negative side of the battery.
Cut the negative cable for the battery and crimp on new ring terminals. - Alternatively, use a new wire of appropriate gauge to carry the full current demand of your system.
- Install the shunt as shown in the wiring diagram above. Note: The negative terminal of the battery must connect directly to the “B-" side of the shunt, and there should be no other connections to the negative terminal of the battery for accurate measurements.
- Use the B+ wire included in the package to connect the B+ terminal of the shunt to the positive side of the battery. Note: Do not stack smaller terminals under large ones.
- Connect the shunt to the remote display using the included shielded cable.
Select Bundle Options:
From $22.09
RICH SOLAR 500 Amp Battery Monitor with Shunt 8~120V 500A—
$22.09
More Images
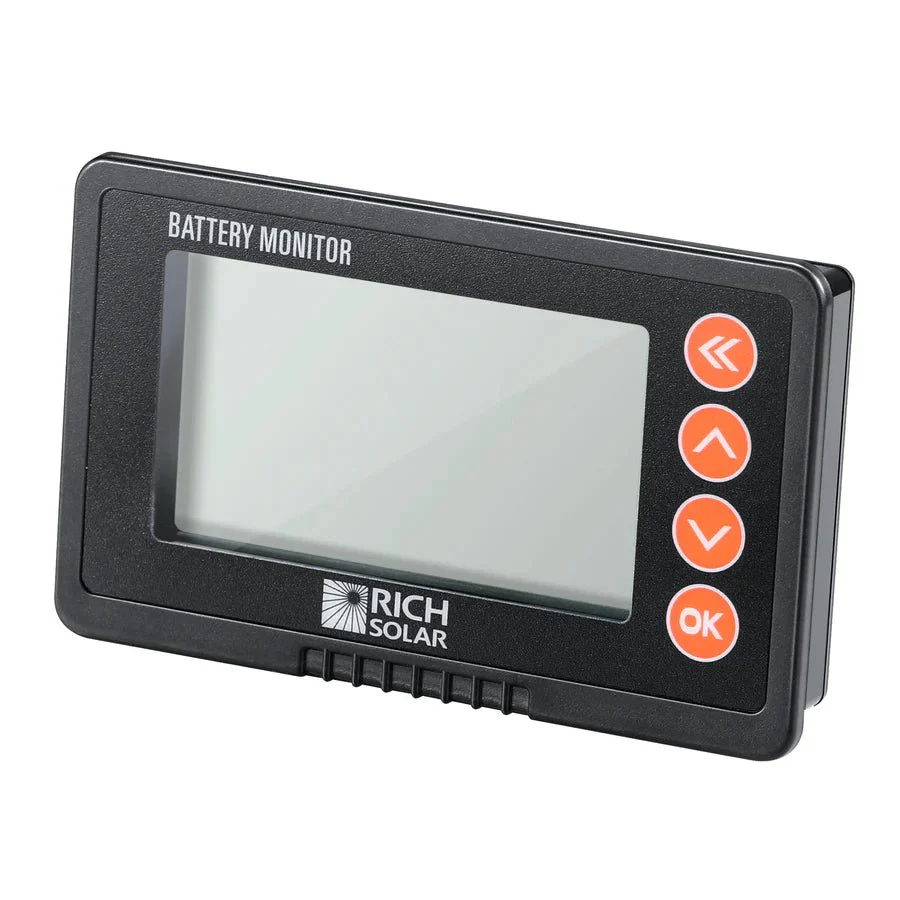






RICH SOLAR 500 Amp Battery Monitor with Shunt 8~120V 500A
Installation and Wiring-Overview
The RS-BM500 shunt should be mounted as close to the battery as possible, and the remote display is intended to be mounted on a wall.
Recommended Tools
- Wrench
- Drill
- Jig saw
- 2 ring terminals of appropriate size for battery cable
- Crimp tool for ring terminals
Wiring Diagram
The following wiring diagram will be referenced in the next section.
Installation
- Before doing anything, disconnect all wires from the negative side of the battery.
- Cut the negative cable for the battery and crimp on new ring terminals. Alternatively, use a new wire of appropriate gauge to carry the full current demand of your system.
- Install the shunt as shown in the wiring diagram above. Note: The negative terminal of the battery must connect directly to the “B-" side of the shunt, and there should be no other connections to the negative terminal of the battery for accurate measurements.
- Use the B+ wire included in the package to connect the B+ terminal of the shunt to the positive side of the battery.
Note: Do not stack smaller terminals under large ones. - Connect the shunt to the remote display using the included shielded cable.
Mounting the Remote Display
- Plan the location of your remote display and keep in mind there is a cable that needs to route all the way to the shunt.
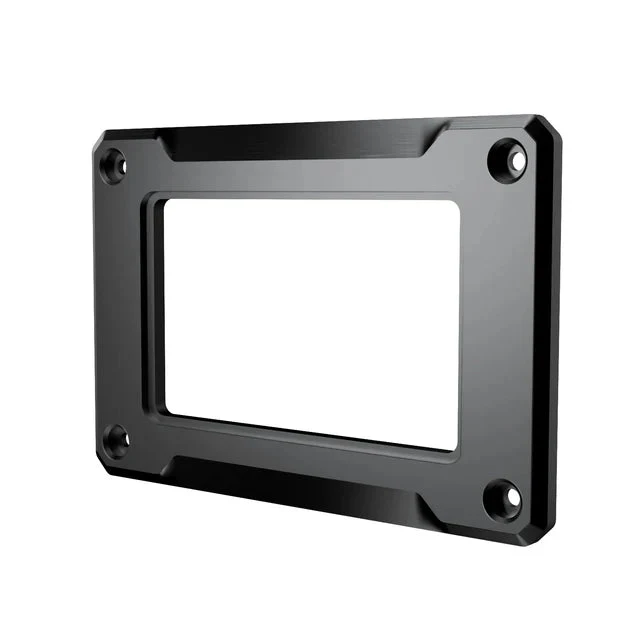
- Drill a hole in the center of the planned location and use the jigsaw to cut a hole according to the following picture.
- Connect the shielded cable to the shunt and route it such that you can bring it through the hole.
- Connect the shielded cable to the remote and snap the remote into place.
Basic Setup
- Before doing anything, disconnect all wires from the negative side of the battery.
Cut the negative cable for the battery and crimp on new ring terminals. - Alternatively, use a new wire of appropriate gauge to carry the full current demand of your system.
- Install the shunt as shown in the wiring diagram above. Note: The negative terminal of the battery must connect directly to the “B-" side of the shunt, and there should be no other connections to the negative terminal of the battery for accurate measurements.
- Use the B+ wire included in the package to connect the B+ terminal of the shunt to the positive side of the battery. Note: Do not stack smaller terminals under large ones.
- Connect the shunt to the remote display using the included shielded cable.
Product Information
Product Information
Shipping & Returns
Shipping & Returns
Description
Installation and Wiring-Overview
The RS-BM500 shunt should be mounted as close to the battery as possible, and the remote display is intended to be mounted on a wall.
Recommended Tools
- Wrench
- Drill
- Jig saw
- 2 ring terminals of appropriate size for battery cable
- Crimp tool for ring terminals
Wiring Diagram
The following wiring diagram will be referenced in the next section.
Installation
- Before doing anything, disconnect all wires from the negative side of the battery.
- Cut the negative cable for the battery and crimp on new ring terminals. Alternatively, use a new wire of appropriate gauge to carry the full current demand of your system.
- Install the shunt as shown in the wiring diagram above. Note: The negative terminal of the battery must connect directly to the “B-" side of the shunt, and there should be no other connections to the negative terminal of the battery for accurate measurements.
- Use the B+ wire included in the package to connect the B+ terminal of the shunt to the positive side of the battery.
Note: Do not stack smaller terminals under large ones. - Connect the shunt to the remote display using the included shielded cable.
Mounting the Remote Display
- Plan the location of your remote display and keep in mind there is a cable that needs to route all the way to the shunt.
- Drill a hole in the center of the planned location and use the jigsaw to cut a hole according to the following picture.
- Connect the shielded cable to the shunt and route it such that you can bring it through the hole.
- Connect the shielded cable to the remote and snap the remote into place.
Basic Setup
- Before doing anything, disconnect all wires from the negative side of the battery.
Cut the negative cable for the battery and crimp on new ring terminals. - Alternatively, use a new wire of appropriate gauge to carry the full current demand of your system.
- Install the shunt as shown in the wiring diagram above. Note: The negative terminal of the battery must connect directly to the “B-" side of the shunt, and there should be no other connections to the negative terminal of the battery for accurate measurements.
- Use the B+ wire included in the package to connect the B+ terminal of the shunt to the positive side of the battery. Note: Do not stack smaller terminals under large ones.
- Connect the shunt to the remote display using the included shielded cable.